Food Photography: Tips from a Pro

(Credit: Audrey Mc Mahon)
How do you capture the fluffy texture of perfectly cooked rice, the gleam of fresh salmon, or the vibrant red of flying fish roe in a single photo? Food photography truly is an art form.
From exquisite olive oils to creamy Pearl Onion Confit, food photographer Audrey Mc Mahon knows all the tricks to showcase the best qualities of delicious ingredients.
We were delighted when she agreed to share a few tips with us in an interview. The food lovers that make up the La Belle Excuse team are always looking for new tips to share with our wonderful community.
Grab your camera and click away!
Key Aspect in Food Photography: Lighting

(Credit: Audrey Mc Mahon)
One constant advice from this seasoned photographer is the importance of lighting: “Lighting plays the most significant role in showcasing a dish. Finding the right placement and balance is crucial for highlighting all the elements.”
Whether you use natural light from a window, or artificial lights placed strategically, the first thing you need to consider for successful food photography is the lighting—and the mood you want to give your image.
But it is far from being the only aspect and new technologies can help in that area.
Essential Tools to Enhance Food Photography

(Credit: Audrey Mc Mahon)
From free tools to programs costing hundreds of dollars, there is something for every techsavvy individual. However, if you’re just starting out, a few user-friendly tools can be more than enough.
Using Presets: Yes or No?
Using presets for food photography is a basis, according to the expert: “We never deliver RAW photographs on the fly. We take the time to create the perfect look for the photos we want to present.”
Her advice? If you shoot in RAW mode, always add a bit of contrast and adjust the colours and lighting. If you shoot in jpeg, your camera automatically does some of that work for you, but you can still tweak it to make it your own.
These basic changes allow you to balance the tones and showcase the details of your dishes. Presets simplify this process by providing pre-programmed adjustments that enhance your photos instantly.
Don’t shy away from creating your own and over time, you will develop your own photographic style and colour.
Essential Applications to Edit Food Photography
Whether you are working with a smartphone or computer, some applications are a must when editing food photography.
Audrey Mc Mahon gives us an example: When using your cell phone for photography, its application remains a basic reference. When using a computer, Lightroom, Capture One and the Adobe suite offer powerful tools for precise and professional edits.
These apps also include presets, thus making the colour grading process easier.
Audrey’s favourite software? Adobe suite, without a shadow of a doubt!
How to Make Your Dishes Stand Out in Alluring Photos?

(Credit: Audrey Mc Mahon)
Showcasing meals in food photography is a craft itself. Stylists and artistic directors are staging experts.
But not all of us have such skilled staff at our disposal, especially as amateur photographers. Audrey sometimes does it herself and confirms that practice makes perfect. One advice: DARE!
Choosing the Right Decorative Items
Showcasing a dish requires several elements: colours, surface and accessory textures such as a linen tablecloth or wood board—and above all, lighting.
You also want to create a mood around the dish that is appealing and realistic.
For instance, warm and comforting French onion soup will look more enticing on a wood table to give it that inviting feel. Just like beer doesn’t belong in a child’s bedroom!
Stay true to the dish’s mood to present it in a realistic and attractive context.
Preparation and Setup Time for Food Photography
According to Audrey Mc Mahon, the time needed to prepare and set up a dish varies depending on the project. Preparation may take only 30 minutes or several hours, from preparing and cooking the dish to setting the shot.
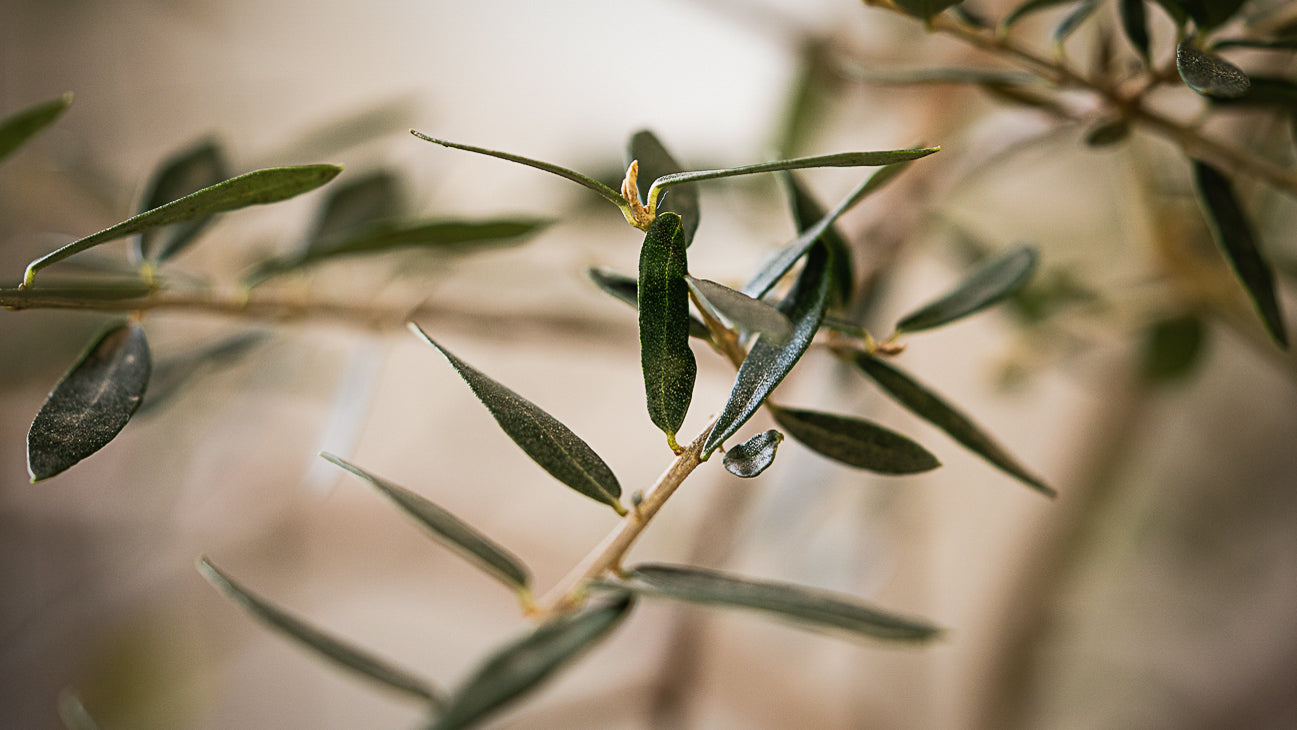
Lifestyle photos of products that don’t involve complex recipes, such as a salad with olive oil, will be much quicker.
Preparatory work, which includes creating mood boards, is often needed to define the mood and details of the scene. Audrey often works with a team that prepares the setup but must sometimes do it herself, depending on the projects.
Trial and Error is Key for the Perfect Photo!
Capturing the perfect photo sometimes means taking between 10 and 30 shots of the same dish, according to the photographer’s experience.
It may come down to placing the right item at the right place, such as utensils, basil leaves or products—or even finding the right angle to best showcase the dish.
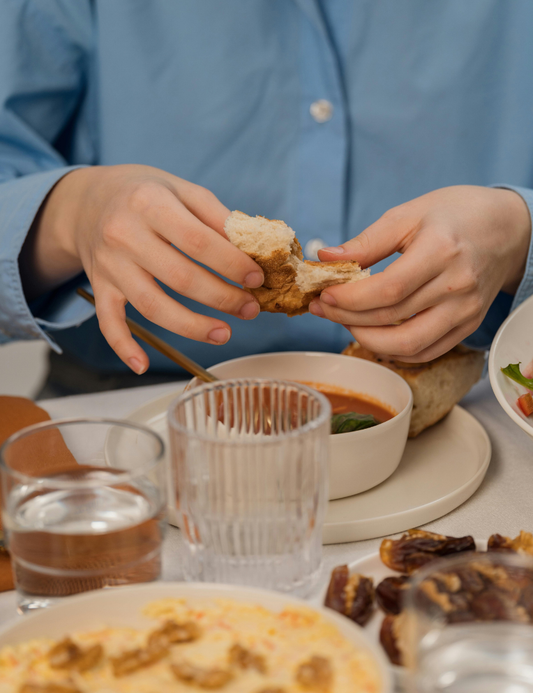
When human elements are included, such as a hand holding a product, the number of shots increases given how hard it is to get natural, well-framed poses.
Tips and Tricks for Successful Food Photography

(Credit: Audrey Mc Mahon)
According to Audrey, a good step towards successful food photography is to tell a story. You want people looking at the photograph to imagine being right there enjoying the dish, or simply look at the dish and want to eat what they see.
Here are a few technical tips to help you convey your story.
Choosing the Right Angle for the Shot
The photographer is adamant: the angle of the shot is key in food photography.
According to Audry, you must choose the angle based on the nature of the dish and the desired effect. The photographer also likes to think outside the box to give the photo a surprise effect.
The top shot (bird’s-eye view) is still a classic and perfect for overhead view. Pizza or items laid flat, such as a bottle of olive oil, can make great use of this perspective.
A 90-degree angle is ideal for fully appreciating the composition of a dish, especially when it’s layered, such as a burger or stack of pancakes.
In contrast, a 45-degree angle provides a perspective that is more typical and realistic for capturing photographs.
Using a Tripod: When and Why?
Audrey Mc Mahon recommends using a tripod for food photography. However, you’ll want to forgo the tripod for lifestyle photos where spontaneity is preferred.
The photographer also uses other accessories, such as a stepladder for overhead view. The goal is to find the angle that will highlight the dish and draw attention.
The Question on Everyone’s Lips: What Happens to the Food After the Shoot?
“Respecting the food is paramount,” said Audrey. After each photo shoot, the team usually eats the food or redistributes it to avoid waste.
But it’s not just about the dishes! To prepare a recipe, several ingredients are needed and not all of them are always used: “There are sometimes 2 or 3 grocery bags of leftovers produce! Bunches of herbs, lemons, cucumbers—all the surplus that wasn’t used.”
The food photographer says that she’s also seen some clients donate surplus food to food banks to avoid waste.
And just in case you were wondering… Yes, it’s real food! “Some practices are used in advertising, such as replacing ice cream with mashed potatoes, because ice cream melts quickly and the product needs to look good for packaging. But I’ve never had to replace food with something else. Photographers increasingly use real food.”
In short, food photography is an art… and a delicious one at that! These expert tips on capturing mouth-watering shots should help elevate your next photos.
Frequently Asked Questions
Main rookie mistake? Including too many items. The star should be the dish, not the setting.
Presets. Yes or no? Always!
What is the most important thing to remember for a good photo? Lighting.
Best app for editing photos or reels? Lightroom.
What does our expert prefer not to photograph? “A big Christmas turkey! It’s challenging because it’s often a large dish. In my opinion, shades of brown are harder to showcase. But in the end, it’s all about the photographer’s perspective!”
Feel free to share your best photos on our Facebook page or Instagram!
To witness Audrey Mc Mahon’s talent and see her beautiful food photography, click here: Audrey Mc Mahon’s food photography website.

Need recipe ideas? Check out our Recipe section.
For more relevant and informative articles, go to our Blog.
Want to try our products? You might like these: